Step 1: Choose the Perfect Pumpkin
Start with a pumpkin that has smooth, firm skin and a flat bottom so it sits steadily. Pumpkins that feel heavy for their size and have an intact, green stem will last longer. Opt for a shape that matches your carving design—tall for vertical designs and squat for horizontal carvings.
Pro Tip: Pumpkins with a hollow sound when tapped tend to be just the right thickness for easy carving.
Step 2: Prep Your Work Area
Carving can be messy, so it’s best to lay down a disposable tablecloth or kraft paper to protect your surfaces. Have a large bowl handy to collect the seeds for roasting later, and gather your tools—an ice cream scoop for cleaning, a paring knife for detail work, and a serrated knife for cutting through the pumpkin’s thick walls.
Step 3: Hollow It Out
Cut a lid in the back or bottom of the pumpkin instead of the top for a cleaner presentation and easier access to place a light inside. Use an ice cream scoop to remove all the seeds and strings, thinning the walls to about ¾ inches thick, which will make carving easier and allow light to shine through better.
Step 4: Transfer Your Design
When using a stencil like our Rombauer wine-themed templates, tape the pattern onto the pumpkin and trace the outlines with a pushpin or a small tool. If you’re free handing, use a dry erase marker to create your design. This will give you a guide without leaving permanent marker lines.
Step 5: Carve with Care
Use a small, serrated knife for the larger cut outs, keeping your strokes slow and steady. Always cut at a 45-degree angle for cleaner edges and fewer slips. Use a smaller carving tool like a paring knife or pumpkin saw for intricate designs. Remember to carve from the inside out for more detailed areas.
Step 6: Preserve Your Masterpiece
To keep your pumpkin from shriveling, rub petroleum jelly or vegetable oil to the cut edges. This seals in moisture and slows down decay. Storing your pumpkin in a cool, dry place when it’s not on display can extend its life by several days.
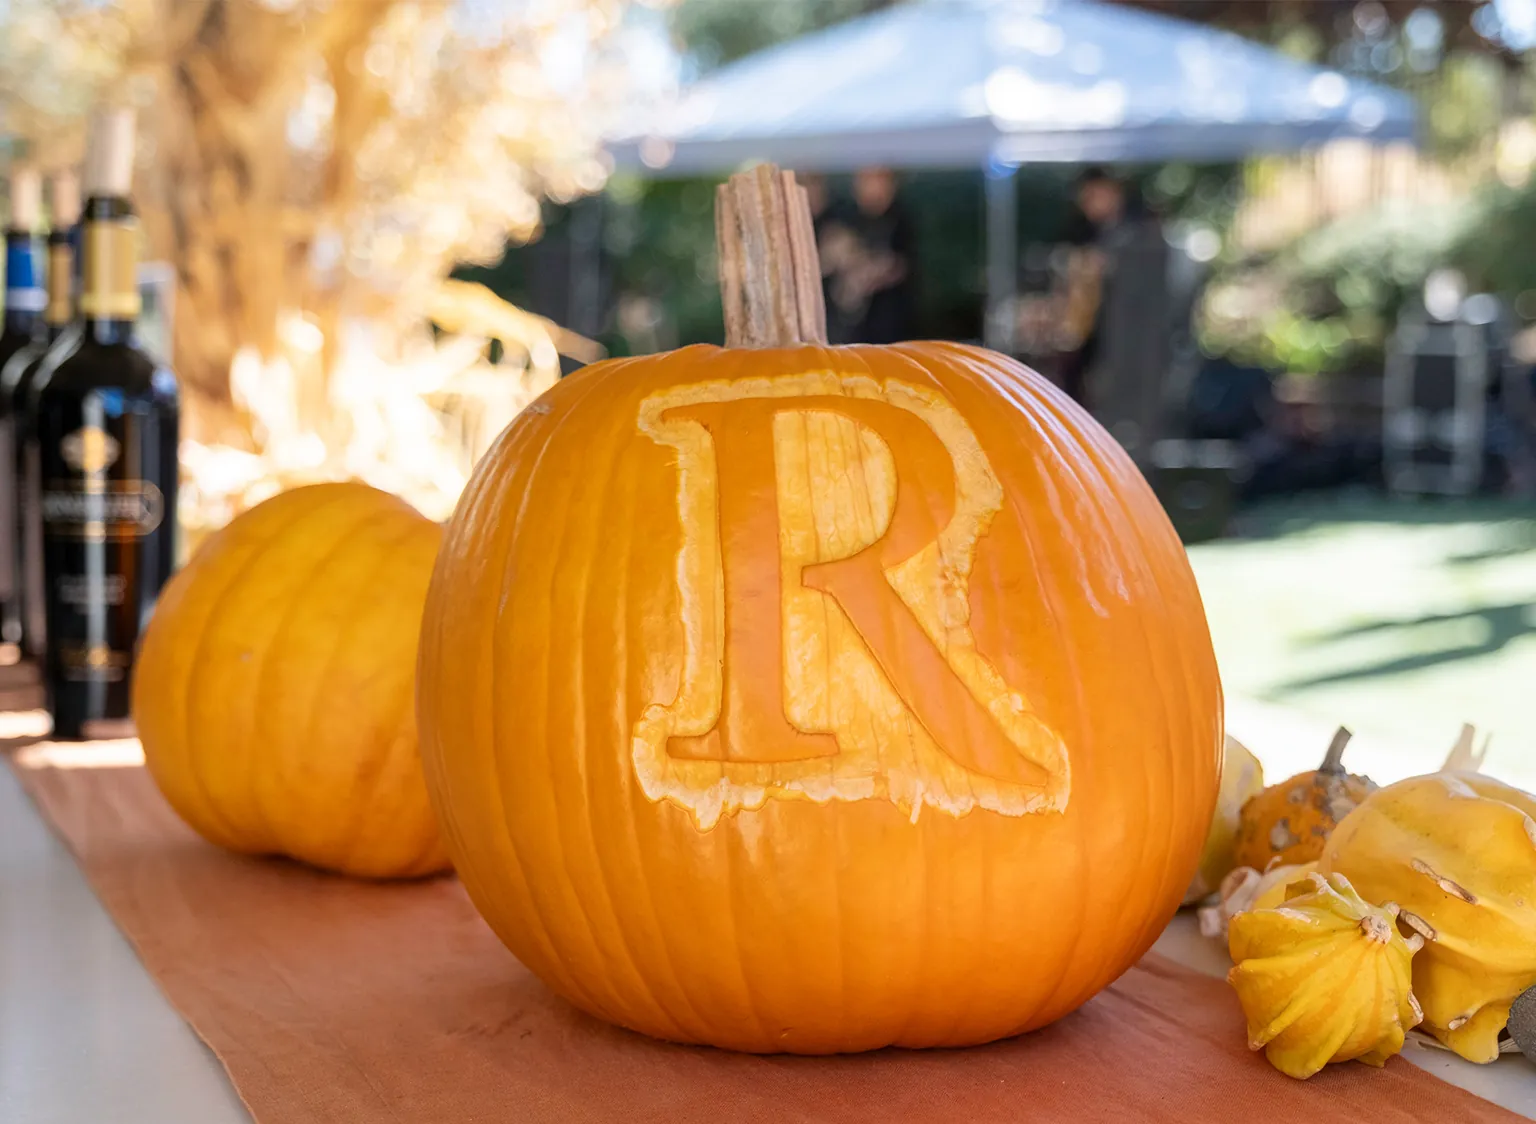
Step 7: Show It Off
We’d love to see your carved creations! Share your photos with us on social media using #RombauerPumpkins for a chance to be featured.